A Perfect Orange-to-Pink Melt: Behind the Chair With Becky Betts
- Becky Betts

- Nov 14, 2025
- 3 min read
A Perfect Orange-to-Pink Melt: Behind the Chair With Becky Betts
Every once in a while a color walks into your salon that reminds you why you love this industry so much — the creativity, the challenge, and the absolute artistry of turning someone’s vision into reality.
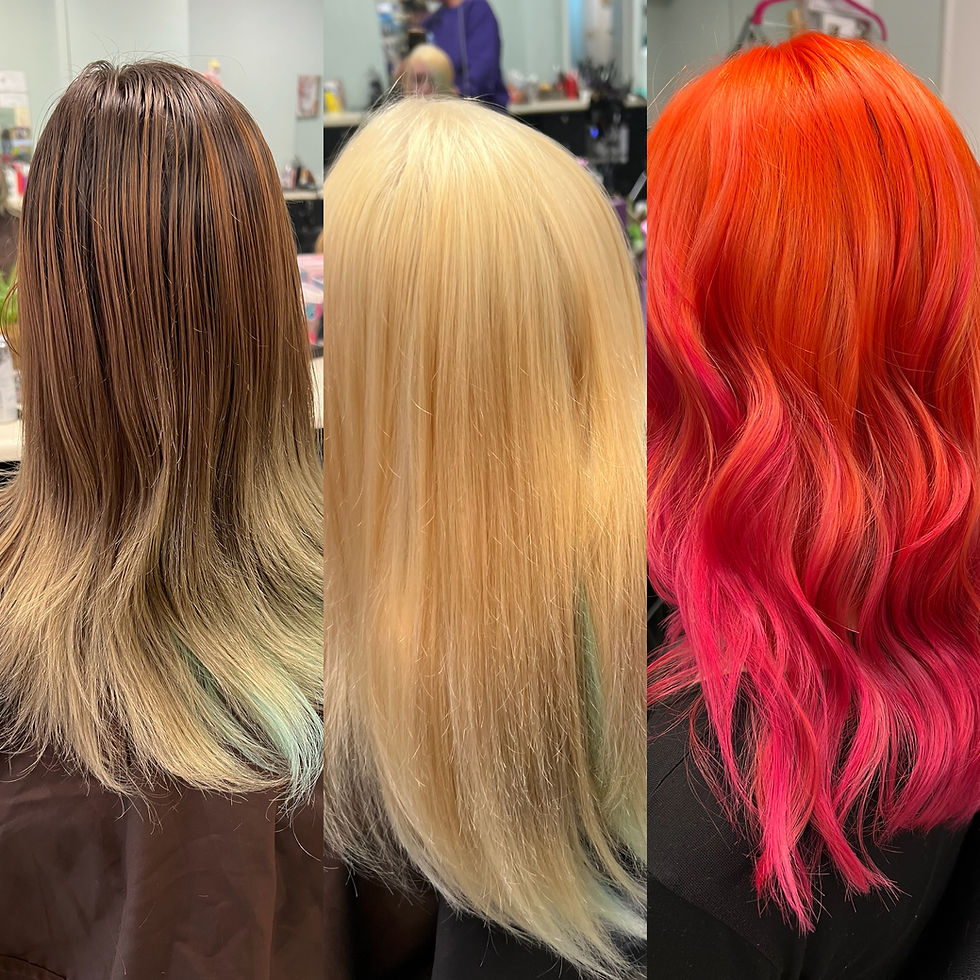
This week I had a guest come in with a natural level 6, some previously lightened ends, and a little unwanted green hanging out on her mid-lengths. And she was ready for a transformation. Her request?
Bright orange roots melted into vibrant pink ends.
A true VIVIDS fantasy look — right up my alley.
Step 1: The Consultation — Always the Foundation
Before I ever mix a bowl or grab a brush, I sit down and map out the entire service.
We talked about:
Her previous color history
The green hue on the ends and how that would impact lifting
Realistic expectations for vibrancy
Upkeep and longevity


Consultation saves you time, saves your client stress, and sets the tone for a successful vivid service every single time.

Step 2: Pre-Lightening With an Open-Air Platinum Card
I knew after the consultation I needed to be at a level 9 yellow underlying pigment, I chose to do an open-air platinum card instead of a full foil. My lightner I use lifts up to 9 level so I use a 20vol on mids and 10vol on roots.
I used 60 grams of lightener and worked globally, clean and consistent.
The goal wasn’t platinum — it was creating the perfect canvas for orange and pink to pop. Underlying pigment is so important to know

Step 3: Drying the Hair for VIVIDS Longevity
This step gets skipped way too often, but it makes or breaks your results. I see people, putting vivid on wet hair or towel dried hair and that is going to make your vivid fade faster so make sure you’re applying your vids on pre-lighten dry and clean her.
VIVIDS need clean, dry hair to grip the cuticle and last as long as possible.
So after rinsing, I fully dried her before applying a single drop of color.
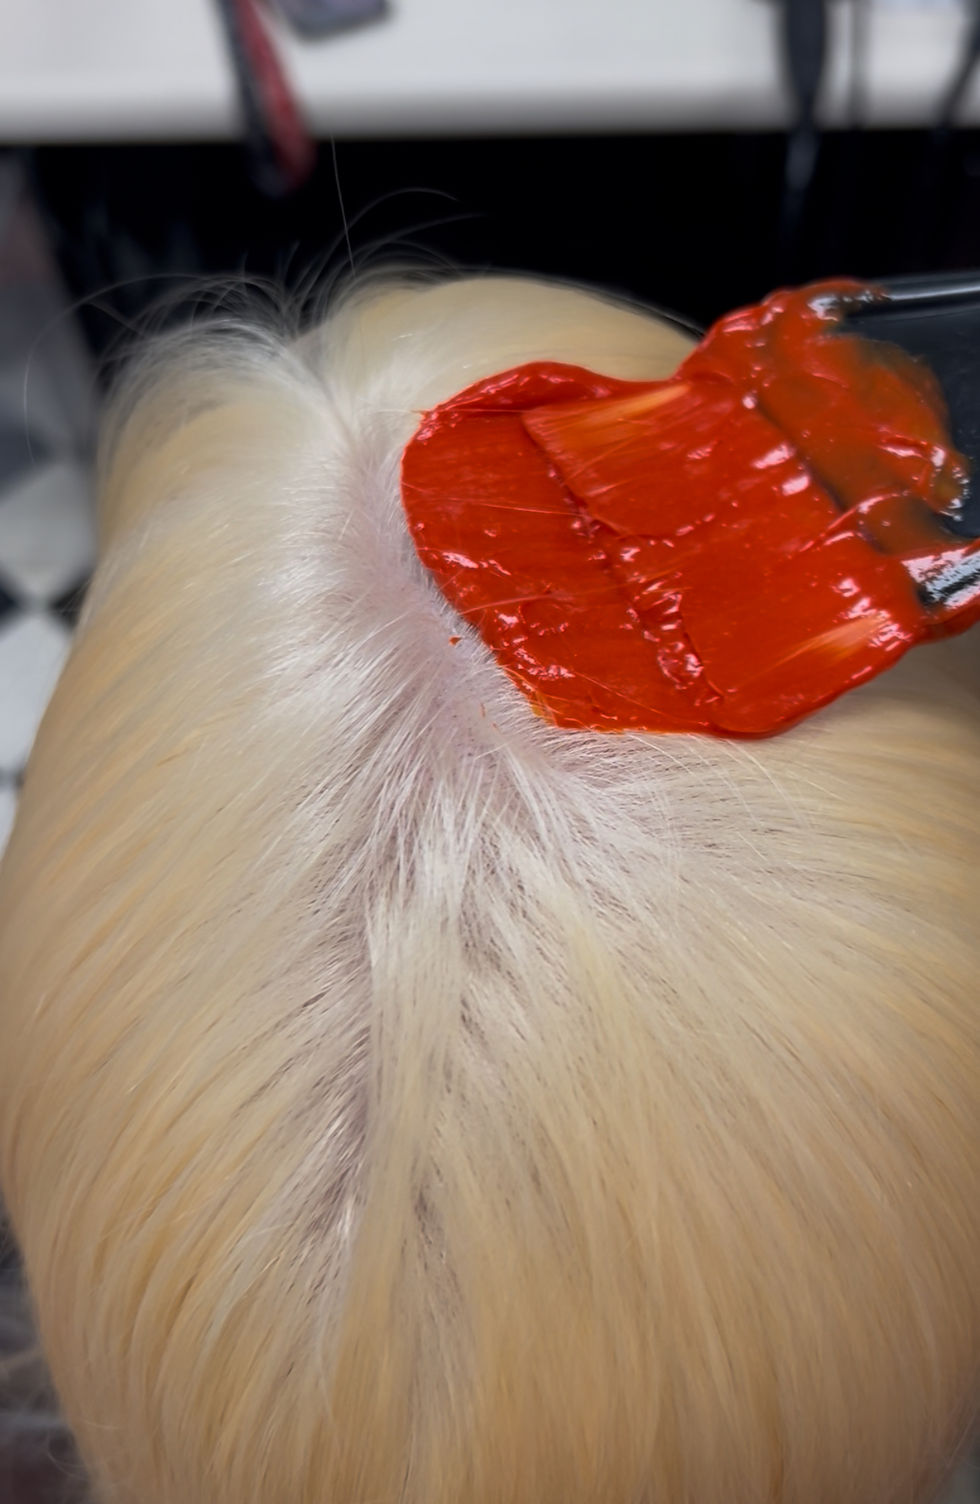
Step 4: Applying the VIVIDS — Orange Roots Melted Into Magenta
Here’s where the magic happened.
For her base, I created the perfect orange by mixing:
🔸 50% Yellow
🔸 50% Orange
This brightened the orange and kept it true to tone — not muddy, not dull, just vibrant.
On the ends, I used Magenta and melted it seamlessly into the base formula with a clean saturation and a controlled blend.
In total, I used three full tubes of VIVIDS to ensure full saturation and long-lasting intensity.

Step 5: Rinse, Style, and Watch the Transformation Happen
After a light wash and condition, I blew her out and styled her — and the transition from fiery citrus roots to juicy pink ends was absolutely flawless.
Bold, playful, and perfectly blended.
Time + Pricing: Transparency Matters
Yesterday on social media I asked how long people thought this took and how much I charged.
Most guesses were way off.
The truth?
⏱️ A little under 2.5 hours
💵 I charged $350

Final Thoughts
This color reminded me why I love VIVIDS so much: the creativity, the precision, and the immediate gratification of seeing your art come alive.
Clients trust us to bring their dreams to life, and it’s our job to do it with solid technique, clear communication, and confidence in our value.
If you want this in a shorter version, a caption, or turned into a carousel post, I can do that too!


Comments